Utilities & Water

Tiny Home Water Filtration: A Complete Guide to Safe Drinking Water

11 min read · Updated February 14, 2026

By John

Clean water is non-negotiable, and the right tiny home water filtration setup depends on your source — city water, a well, or rainwater. Here is how to choose and combine filters for safe drinking water anywhere.
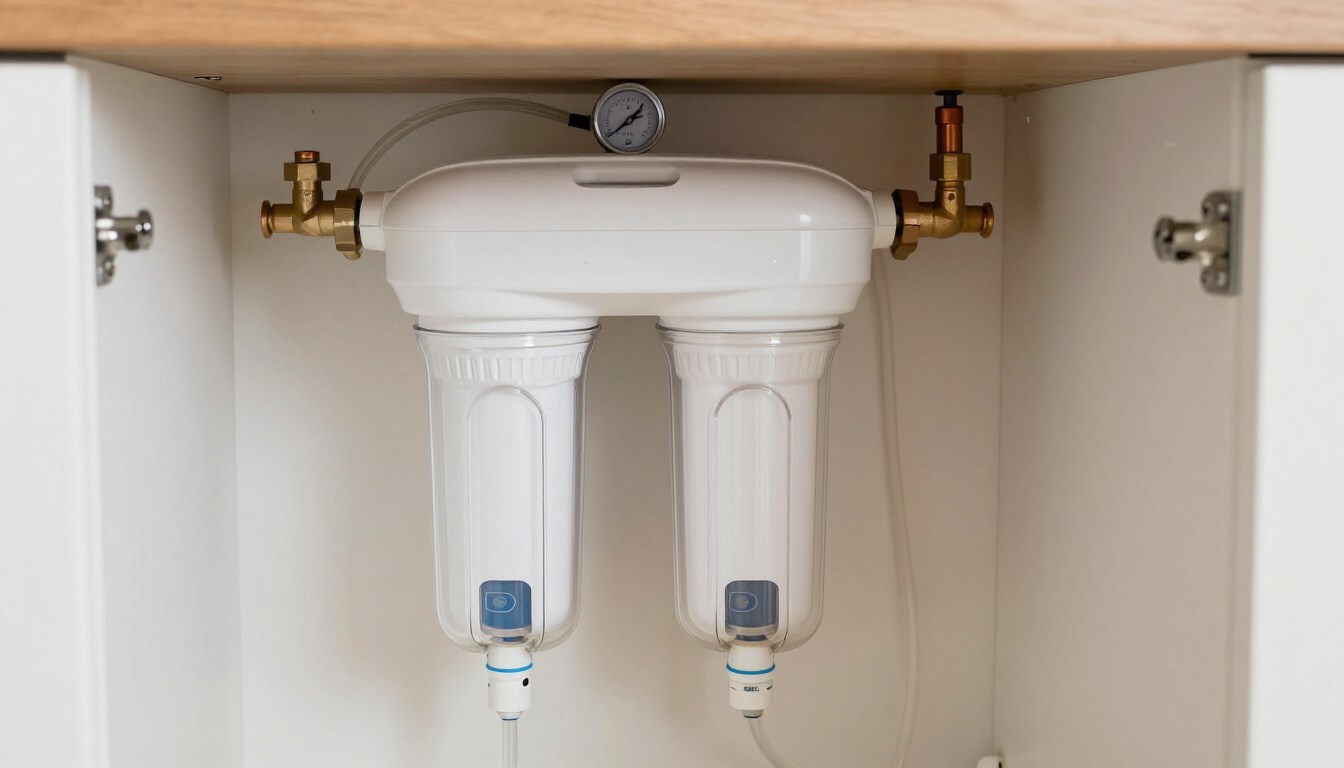
Under-sink multi-stage water filtration system installed in a tiny home kitchen

Start with your water source

There is no universal best filter — only the right filter for your source and what is in it. Tiny home water filtration begins with knowing whether you are on treated city water, a private well, surface water, or harvested rainwater, because each carries different contaminants. City water needs chlorine and lead reduction; well water may have sediment, iron, bacteria, or hardness; rainwater is soft but can collect bird droppings and debris off the roof. Test your water before buying anything — a $30 lab kit tells you far more than guessing. Once you know what is in it, match the filtration stages to the problem.

The four stages of filtration, explained

Most complete systems chain several stages, each targeting a different class of contaminant.
  • Sediment filter (1–50 microns) — removes dirt, rust, and particles that would clog finer filters downstream.
  • Carbon filter — removes chlorine, taste, odor, and many organic chemicals; the workhorse for city water.
  • Ceramic or sub-micron filter — removes bacteria and fine particles; common in off-grid and travel setups.
  • UV purifier or reverse osmosis — UV kills bacteria and viruses; RO removes dissolved solids, heavy metals, and minerals.
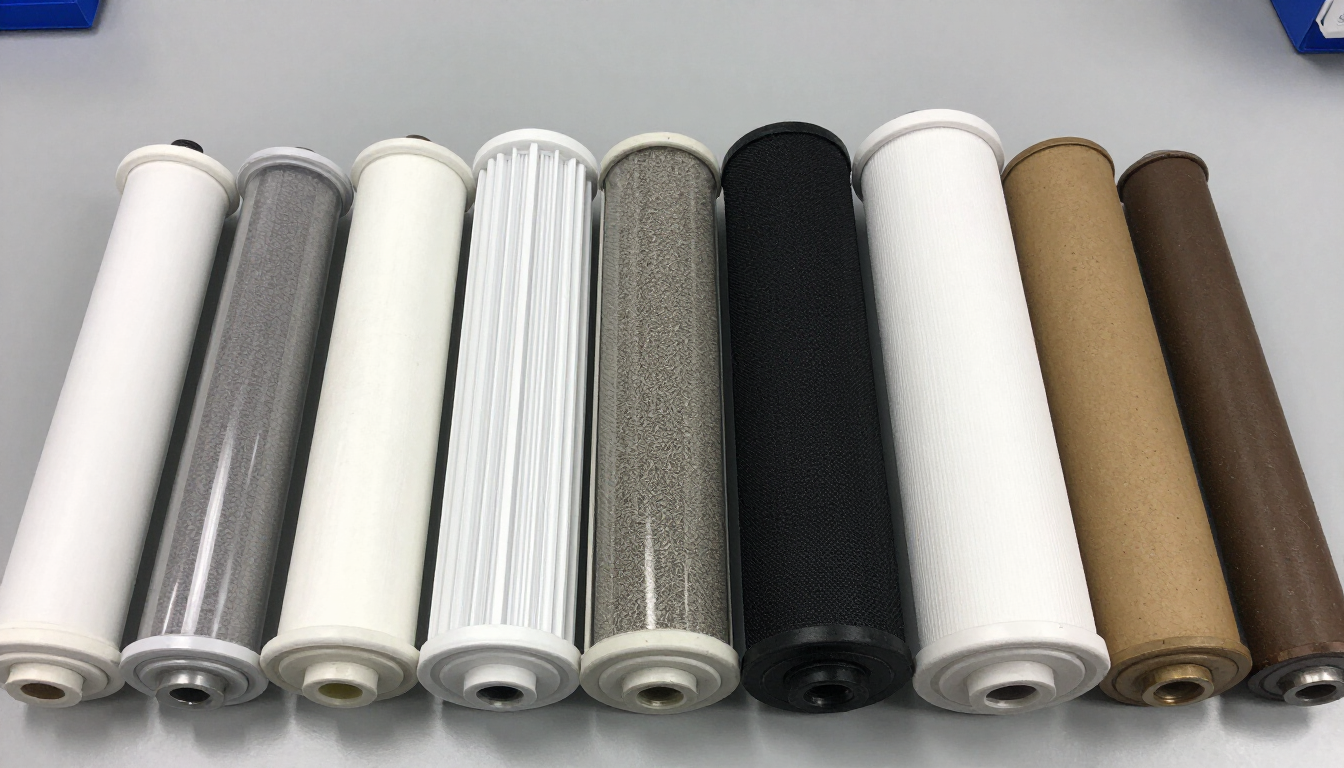
Not every home needs all four. City water may need only sediment + carbon; untreated well or surface water often needs sediment + carbon + UV.
Different water filter cartridges — sediment, carbon, and ceramic — laid out for comparison

Sediment and carbon: the foundation

A sediment pre-filter protects everything downstream and is cheap insurance. Install it where water enters the home so the whole system benefits. A carbon block or granular carbon filter then handles chlorine, taste, odor, and many volatile organics. For a tiny home on city water, a simple under-sink sediment + carbon combo produces excellent-tasting water for a few cents a gallon and minimal maintenance — usually a cartridge swap every 6–12 months. This is the minimum sensible setup for almost any tiny home.
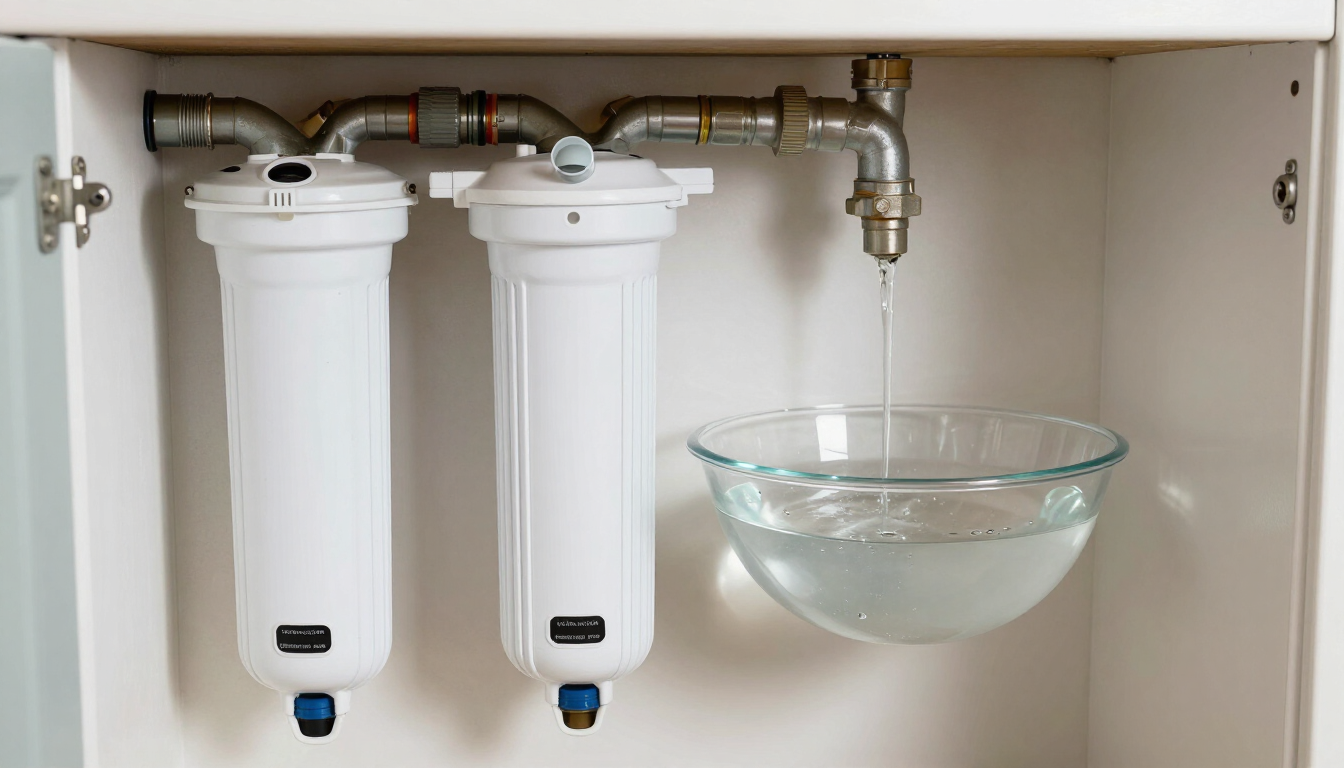
Whole-house sediment water filter canister mounted at the tiny home water entry

Ceramic and UV for biological safety

If your water is not municipally treated — a well, spring, creek, or rainwater — biological contamination is the real risk. A ceramic filter (with a sub-micron rating) physically blocks bacteria and is a reliable, low-tech, off-grid-friendly option that can be cleaned and reused. A UV purifier adds a higher level of protection by killing bacteria, viruses, and cysts with no chemicals and no waste, but it requires power and clear pre-filtered water (sediment blocks UV light). For untreated sources, the proven chain is sediment → carbon → UV. See our off-grid living guide for how this fits into a full water system.
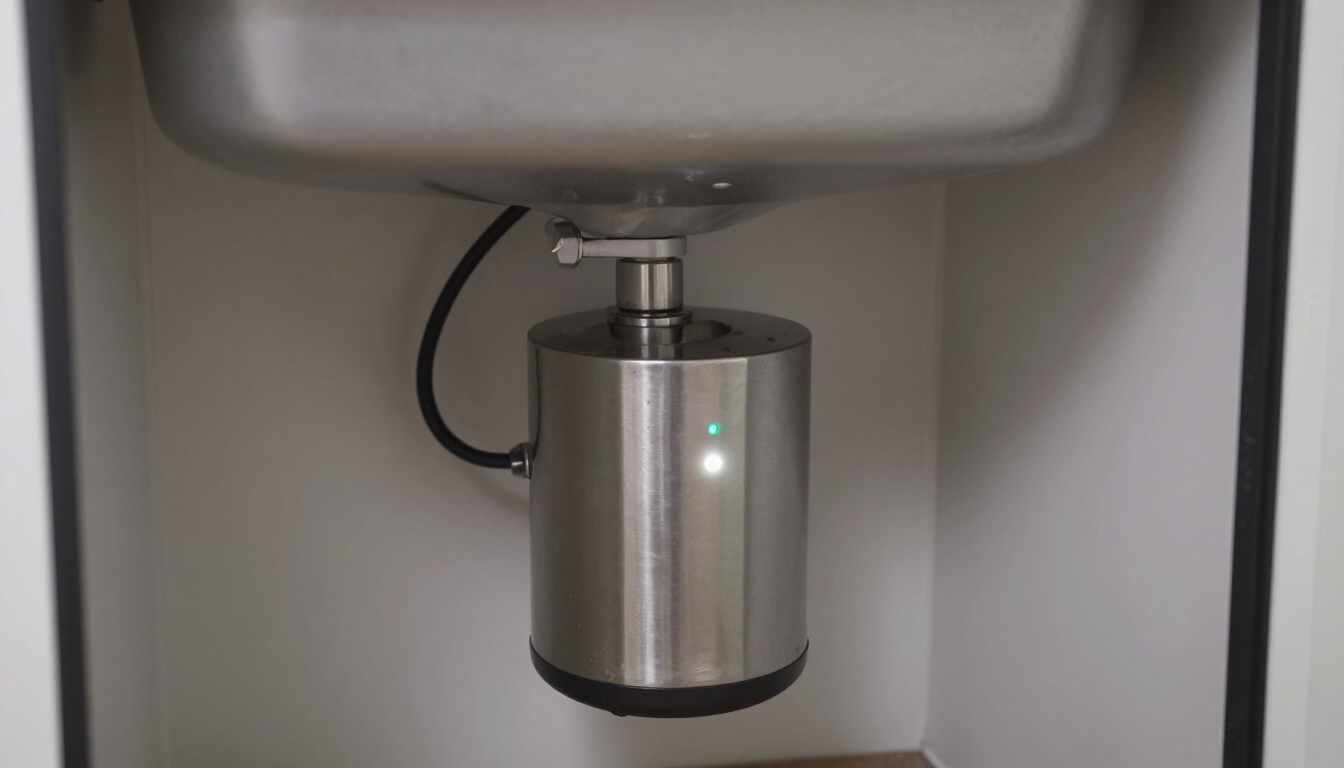
UV water purifier unit installed under a tiny home sink with a glowing indicator

Reverse osmosis: when you need it, when you don't

Reverse osmosis (RO) removes dissolved solids, heavy metals, nitrates, and minerals, producing very pure water. It is the right call if your test shows arsenic, lead, high nitrates, or very hard water. The downsides for a tiny home: RO wastes 3–4 gallons per gallon produced, needs storage space for a pressure tank, and strips out beneficial minerals (often re-added with a remineralization stage). For most city-water tiny homes RO is overkill; for problematic well water it can be essential.

A simple countertop option for renters and minimalists
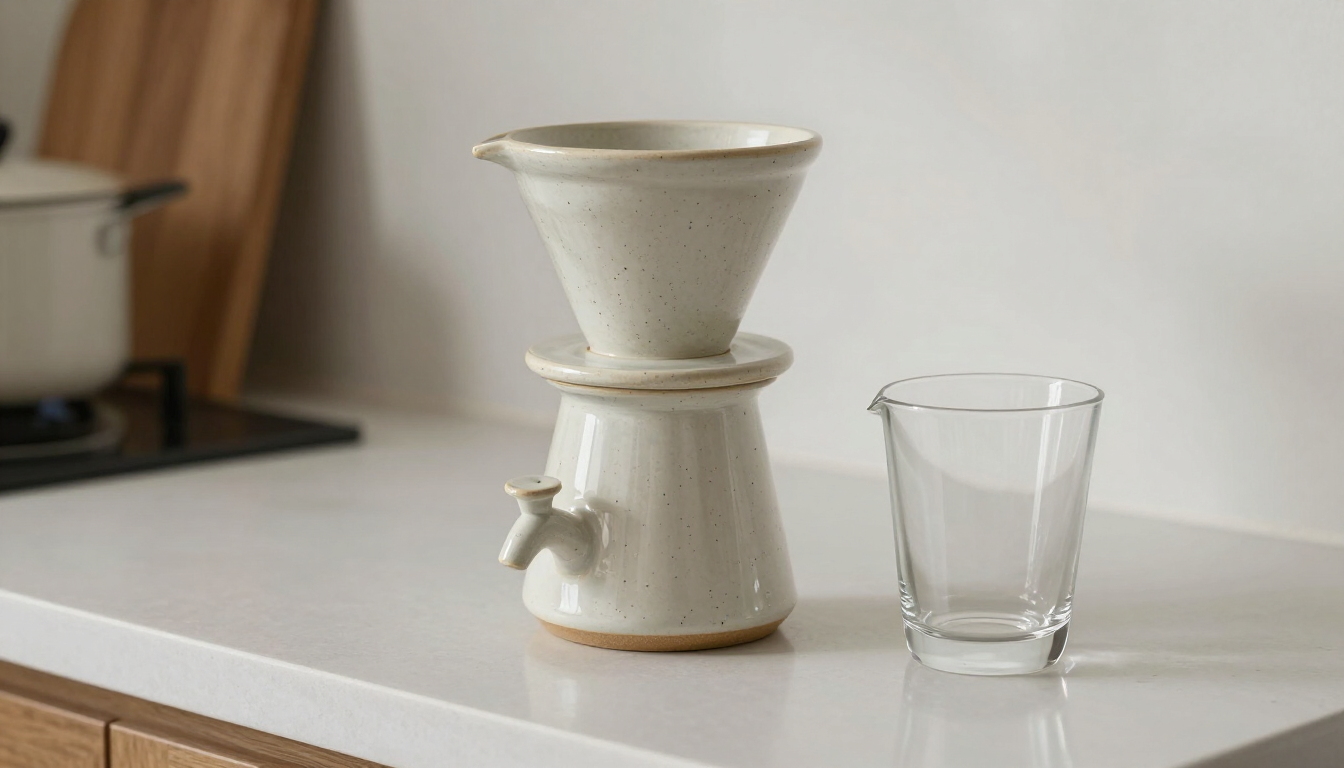
Not every tiny-home dweller wants a plumbed system. A ceramic drip filter (the stoneware countertop type) is gravity-fed, needs no power or plumbing, and removes bacteria and sediment while improving taste. It is perfect for renters, very small homes, or as a backup. The trade-off is slow flow and limited capacity, but for one or two people it is a charming, reliable, off-grid-friendly choice.
Ceramic drip water filter on a tiny home countertop with a spigot

Filtration types compared

StageRemovesPower?CostBest for
SedimentDirt, rust, particlesNoLowEvery system
CarbonChlorine, taste, organicsNoLowCity water
CeramicBacteria, fine particlesNoMediumOff-grid, untreated
UVBacteria, viruses, cystsYesMediumWell, rain, surface
Reverse osmosisDissolved solids, metalsYesHighProblem wells, hard water
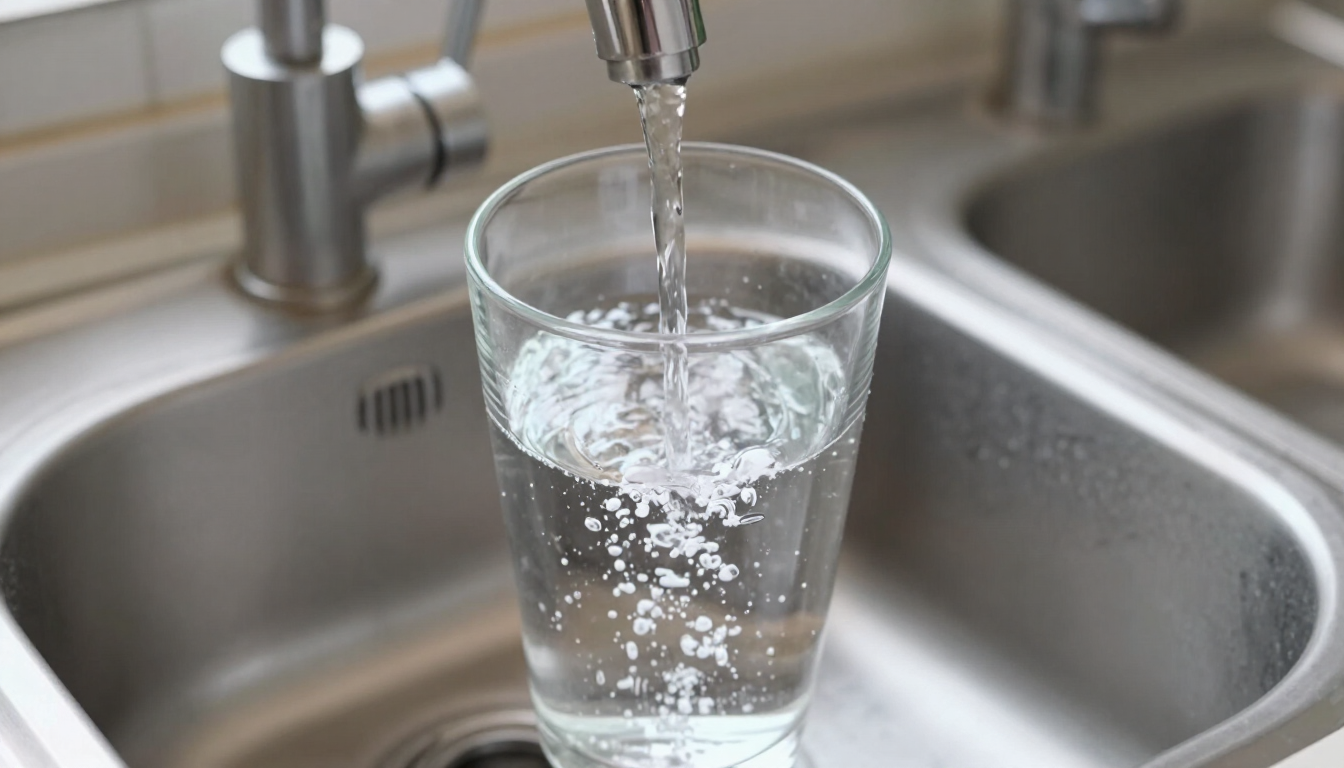
A clean glass being filled with clear filtered water from a tiny home tap

Maintenance and winterizing

Filters only work if you maintain them. Sediment and carbon cartridges are cheap and should be swapped on a schedule (every 6–12 months, or sooner if flow drops). Ceramic elements can be scrubbed and reused many times. UV lamps need annual replacement even if they still glow, because UV output drops with age. If your tiny home travels or is seasonal, winterize the system — drain lines, filters, and the UV chamber so freezing does not crack housings. A bypass valve lets you isolate the system for maintenance without cutting water. Pair filtration with proper plumbing so the whole water system is serviceable.
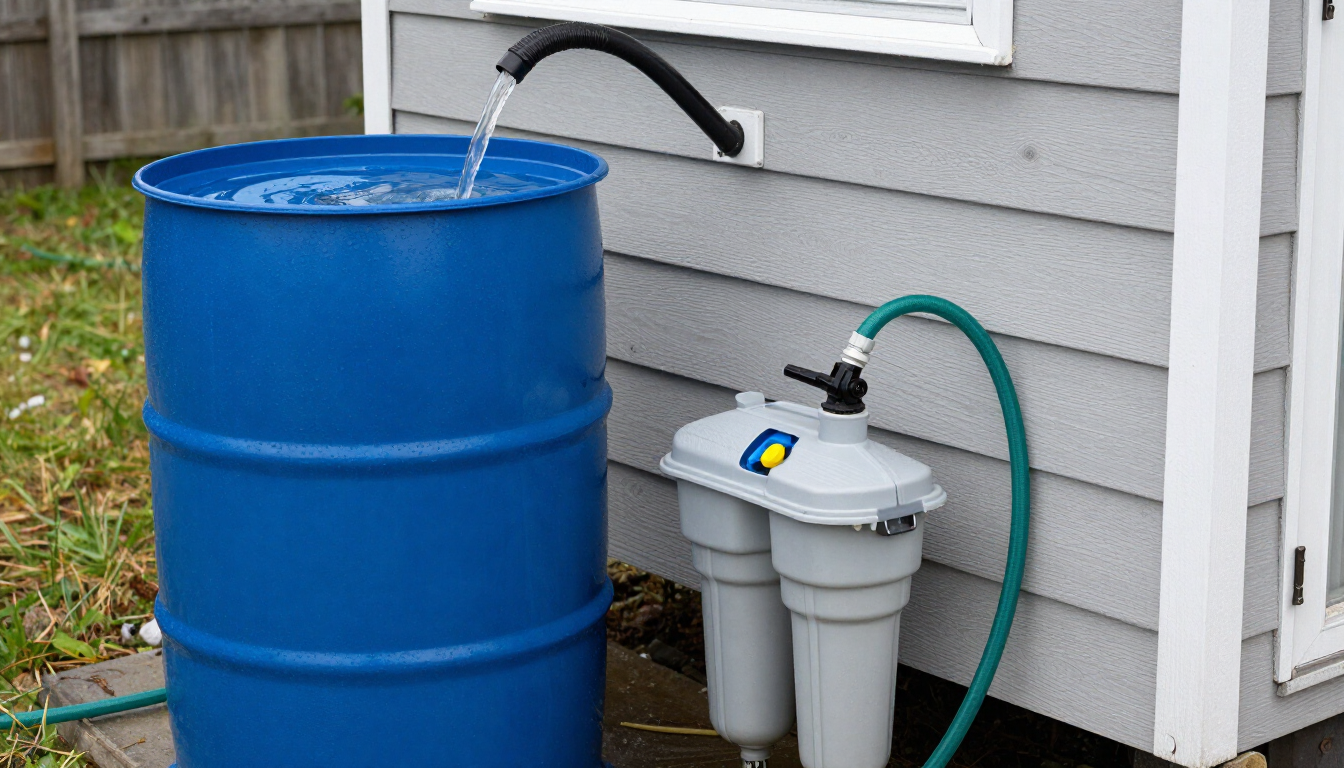
Rainwater collection barrel beside a tiny home feeding a filtration unit

Building your system

Test your water, then build a chain that targets exactly what is in it. For city water, sediment + carbon is usually enough. For wells and rainwater, add ceramic and/or UV for biological safety. Reserve reverse osmosis for specific contamination. Size components to your daily use, leave room for maintenance, and winterize if you travel. With the right setup, your tiny home delivers safe, great-tasting water from any source — on grid or off. Explore communities and land with reliable water, or find a home with a system already installed on the map.

Related articles

More guides that dig deeper into the same topics.

Frequently asked questions

Do I need a water filter on city water?+

A sediment + carbon filter is still worthwhile on city water to remove chlorine, taste, odor, and any lead or sediment picked up from old pipes. It is cheap, low-maintenance, and noticeably improves taste.

What is the best filtration for off-grid rainwater?+

A sediment pre-filter, a carbon filter, and a UV purifier (or sub-micron ceramic) for biological safety. Rainwater is soft and clean-ish but can collect debris and bird droppings off the roof, so biological treatment matters.

Is reverse osmosis necessary in a tiny home?+

Only if a water test shows specific problems like arsenic, lead, high nitrates, or very hard water. RO wastes several gallons per gallon produced and needs storage space, so it is overkill for most city-water tiny homes.

How often should I change tiny home water filters?+

Sediment and carbon cartridges every 6–12 months or when flow drops. Ceramic elements can be scrubbed and reused. UV lamps should be replaced annually even if they still glow, because their germicidal output fades with age.

Does a UV water purifier use a lot of power?+

No — a small residential UV unit typically draws 15–40 watts, comparable to an LED bulb, making it practical for off-grid solar systems as long as it is pre-filtered so sediment does not shield microbes from the light.

Can I use a countertop filter instead of a plumbed system?+

Yes. A gravity ceramic drip filter needs no power or plumbing and removes bacteria and sediment, making it ideal for renters, very small homes, or as a backup — though flow is slow and capacity limited.

How do I winterize a tiny home water filter?+

Drain the lines, filter housings, and UV chamber before freezing weather, and install bypass valves so you can isolate the system. Frozen water cracks filter housings, which is a common and avoidable off-grid failure.

Ready to start searching?

Browse tiny homes, plans, builders, communities and land on the interactive map.

Explore the map
>