Design
Maximizing Natural Light in a Tiny Home
5 min read · Updated January 6, 2026
By John
Placement, glazing and reflectance — how to flood a small home with daylight without sacrificing privacy, insulation or wall storage.
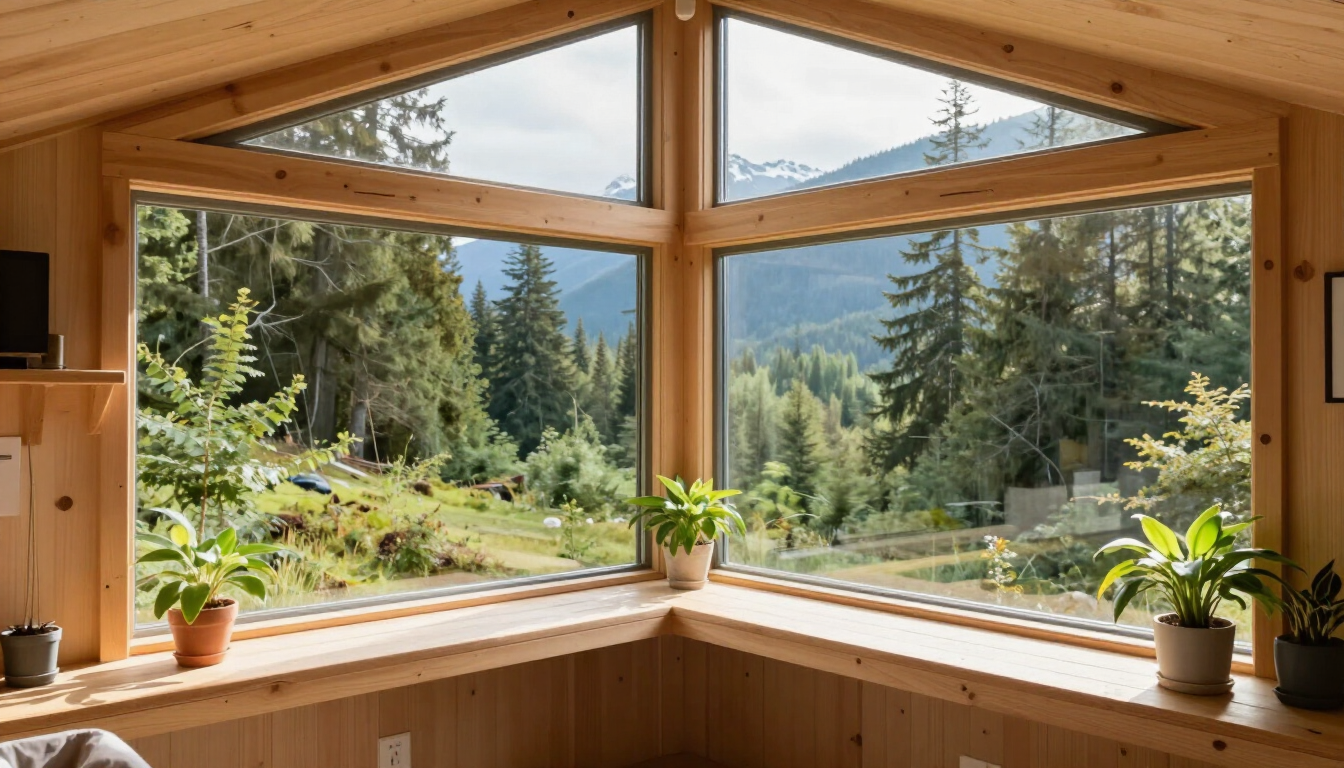
Light is the cheapest space-maker
In a tiny home, daylight does more than any furniture choice to make the space feel open. A well-placed window can make 200 sq ft read as 300. The goal is balanced light from at least two directions so no corner sits in permanent shadow — corner placement and high clerestories are your friends. This pairs with our design principles on sightlines.
Where to put glazing
Prioritize the long walls and the wall opposite the front door — that far window extends the sightline and makes the home feel deeper. Skylights and roof windows add top-light without sacrificing wall space for storage. Avoid glazing the kitchen wall where upper cabinets need to live; use a window above the sink instead.
Glazing choices and insulation
Double-pane low-E glass is the minimum for a comfortable, efficient tiny home; in cold climates consider triple-pane on north walls. Large windows lose heat, so balance glazing area against your insulation budget. Frame windows well — thermal bridging at frames is where tiny homes lose the most energy.
Reflect and layer
Light-colored walls and ceilings bounce daylight deep into the home — see our color scheme guide. Add layered electric lighting (task, ambient, accent) so the home feels warm after sunset, and use sheer curtains for privacy without blocking the light you worked to capture.
Related articles
More guides that dig deeper into the same topics.
Ready to start searching?
Browse tiny homes, plans, builders, communities and land on the interactive map.
Explore the map