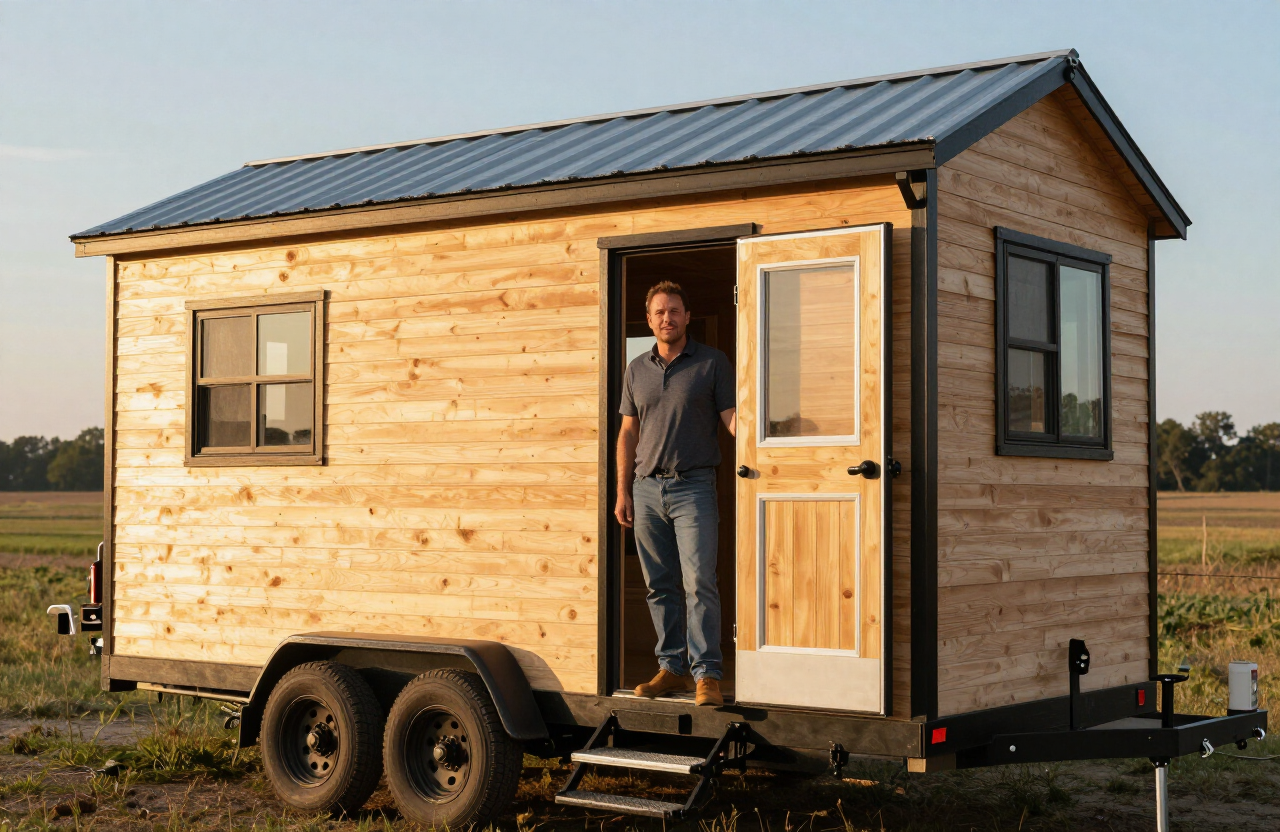
Construction & Materials

DIY Tiny Home Construction: Building Your Own

15 min read · Updated March 13, 2026

By John

Building your own tiny home is one of the most rewarding projects you can take on — and one of the most demanding. Here is an honest, practical guide to DIY tiny home construction from trailer to finishing touches.
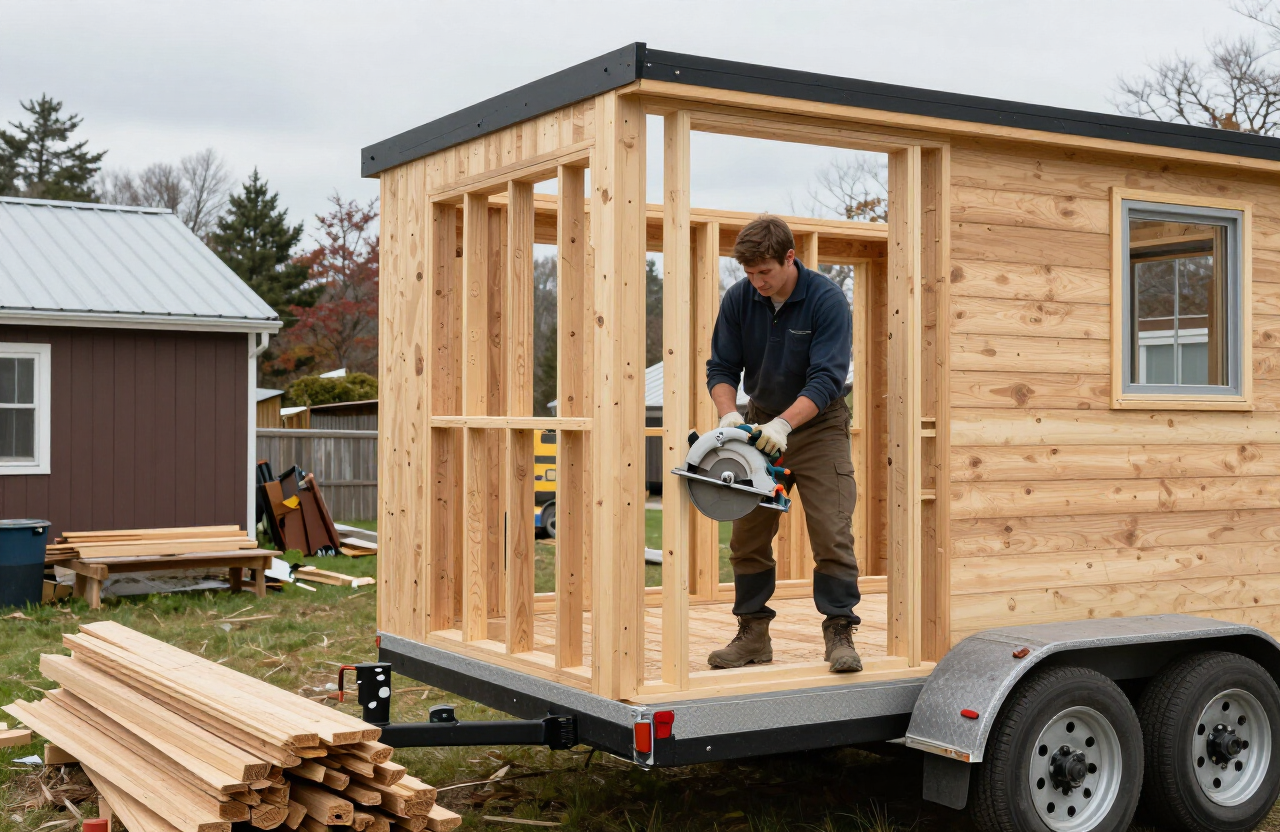
DIY builder in work gloves framing the walls of a tiny house on a trailer in a backyard with lumber nearby

Is DIY tiny home construction right for you?

Building your own tiny home can cut the cost in half compared to a professional build, and you will know every stud, wire, and pipe in the walls. The trade-off is time — most first-time DIY builders spend 500 to 1,000 hours over 6 to 18 months — and the risk that mistakes in structure or systems are expensive or unsafe. You do not need to be a master carpenter, but you do need patience, a place to build out of the weather, and the humility to get help where it matters. If you are ready, start by studying home plans designed for self-builders.

Start with the trailer foundation

For a tiny house on wheels, the trailer is the foundation, so buy the best one you can afford. A purpose-built tiny house trailer with a flush deck and integrated wheel wells is far easier to build on than a repurposed equipment trailer. Size it to your target road-legal width — 8 feet 6 inches is the maximum in most US states without a permit — and have the axle rating checked against your estimated finished weight. Coat the steel against rust, insulate the floor cavity well, and bolt the subfloor down through every cross-member. A weak or rusty trailer is the one mistake you cannot fix later.
Flatbed trailer foundation with pressure-treated floor joists laid out for a DIY tiny home build

Framing the walls and roof

Framing is where the home takes shape, and precision here pays off forever. Use 2x4 or 2x6 advanced framing on 24-inch centers to save weight and leave room for insulation, and build the walls square and flat on the trailer deck before raising them. A tiny house is a moving structure, so add metal hurricane ties at every stud-to-plate connection and diagonal bracing to resist road vibration. Frame the roof with a low-slope or shed design to keep overall height under 13 feet 6 inches, the common US bridge-clearance limit. Measure twice, square constantly, and do not skip the braces.
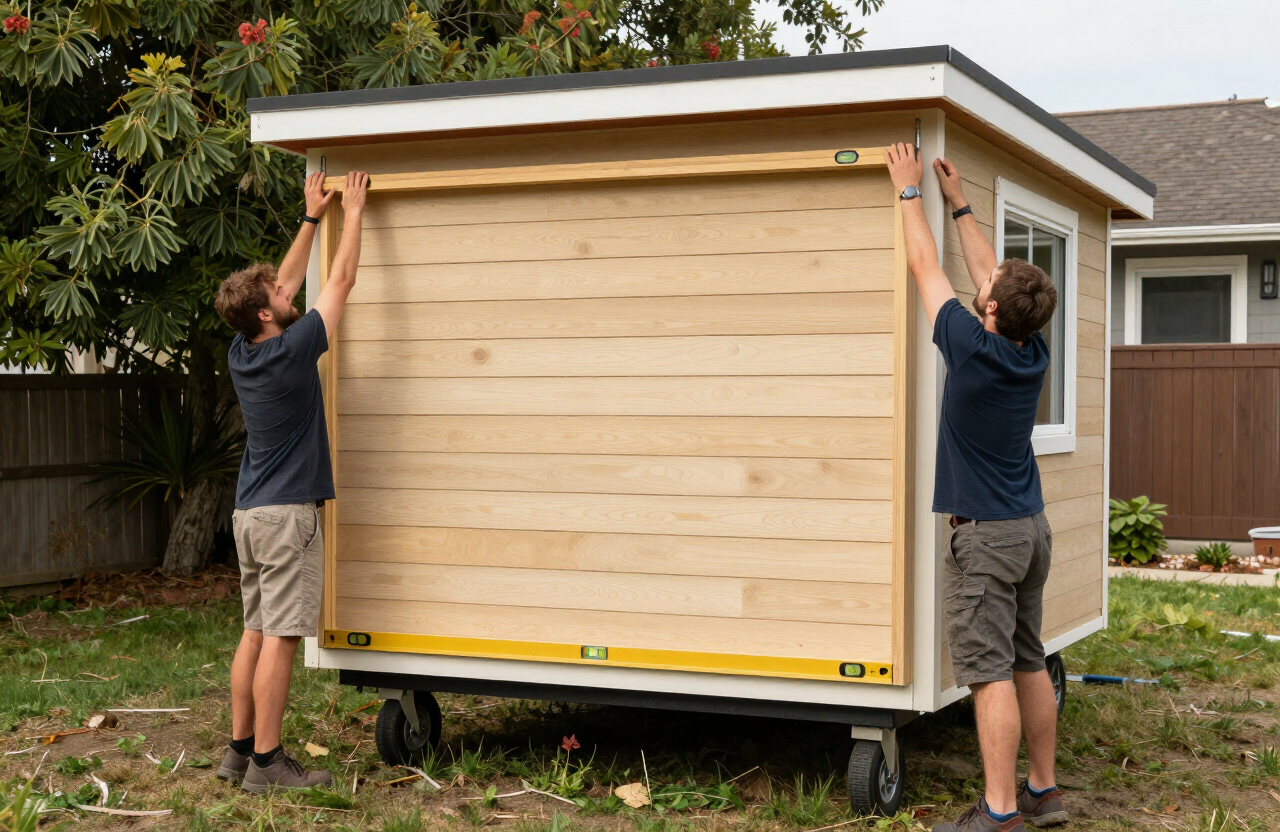
Two people raising a framed wall section of a tiny house on wheels plumb with braces

Rough-in: electrical, plumbing, and ventilation
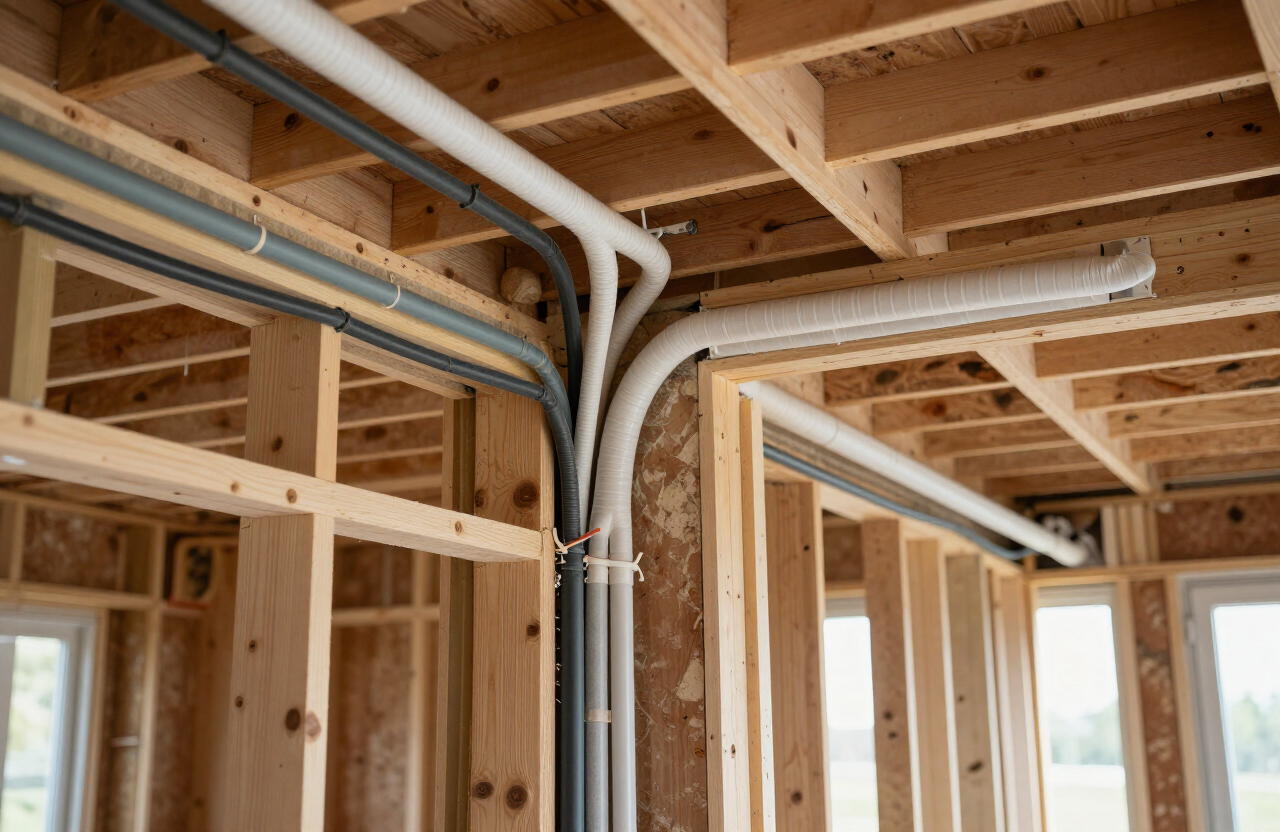
With the frame up and sheathed, run the rough-in before insulation. Plan every outlet, switch, light, and appliance location on paper first, then run Romex through drilled stud holes (not notches) with nail plates to protect wires. For plumbing, use PEX for flexibility and freeze resistance, and keep runs short and sloped. Install a continuous exhaust fan strategy — a bath fan and a range hood — because a tiny home's small volume traps moisture fast. If you are not confident here, hire a licensed electrician or plumber for this stage; it is the one place DIY errors can be dangerous. See our electricity and wiring guide for the details.
Rough electrical wiring and PEX plumbing lines run through stud walls of a DIY tiny house under construction

Insulation and air sealing

In a tiny home, insulation and air sealing do more for comfort than any heating or cooling system. Fill every cavity completely — gaps conduct heat and invite condensation — and choose materials suited to your climate: mineral wool for fire and sound performance, closed-cell spray foam for maximum R-value per inch and air sealing, or rigid foam boards for budget builds. Seal every penetration with tape or foam: around windows, where wires exit, at the ceiling-to-wall joint. A blower-door test, even an informal one with a fan, will reveal leaks you cannot see. Aim for a tight envelope; you can always add ventilation, but you cannot easily re-insulate.
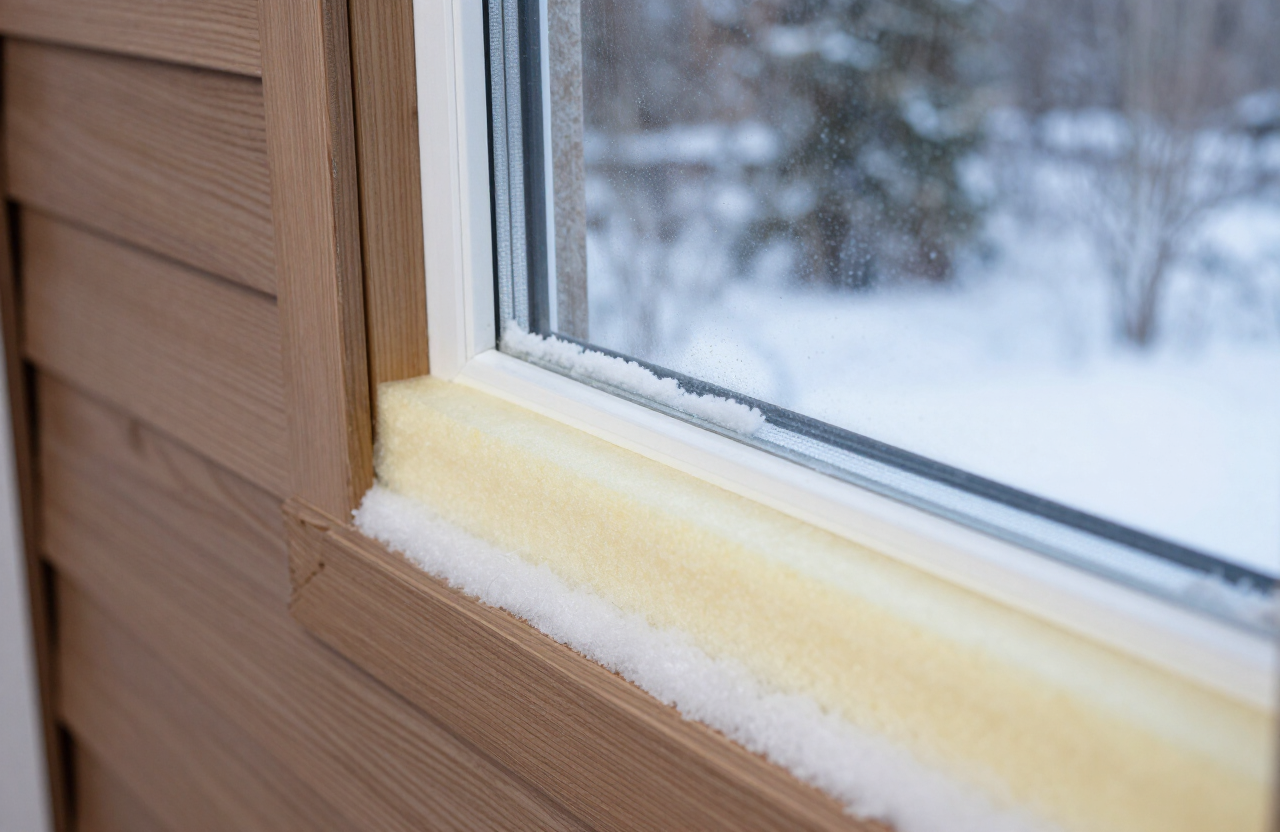
Spray foam insulation being applied and sealed around window trim in a tiny home under construction

Roofing, siding, and windows

Finish the weather shell before moving inside. A metal roof is the popular choice for tiny homes because it is light, durable, and sheds snow, and it can be installed by a careful DIYer. Install roofing underlayment and seal every penetration for vents and the chimney. For siding, choose a material that handles road vibration — cedar, fiber cement, or metal — and fasten it securely. Install windows with proper flashing tape in the right order (sill, sides, head) so water cannot get behind them. A leaky shell ruins everything inside it, so take this stage slowly.

Interior finishing on a budget

Interior finish is where DIY builders save the most and express the most. Tongue-and-groove pine on walls and ceilings is forgiving for beginners and looks warm without paint. Build cabinets and stairs yourself from plywood with edge banding rather than buying custom units, and use full-extension drawer slides. Keep the finish palette simple — two or three materials — so the small space does not feel busy. Paint last, after all the dusty work, and install trim to cover the inevitable gaps. The goal is a home that feels intentional, not a workshop.
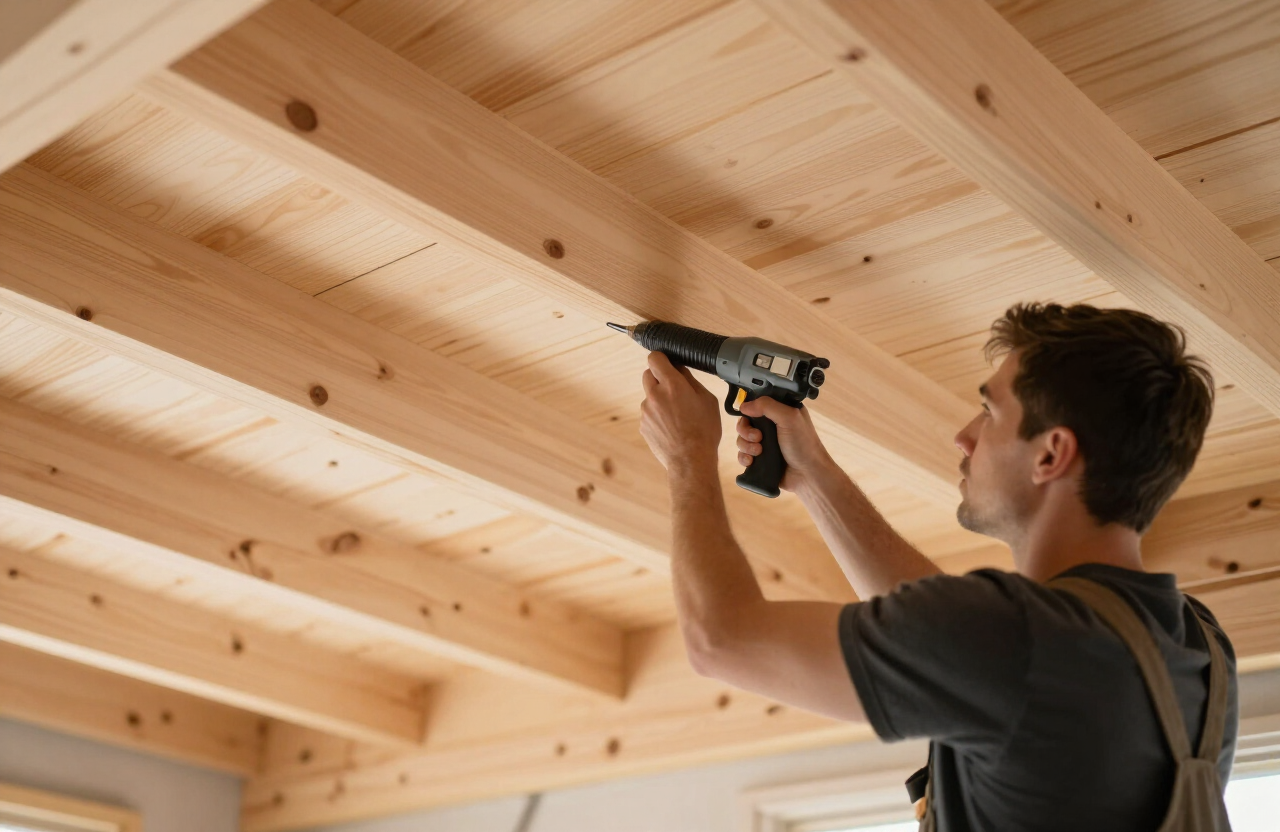
DIY builder installing tongue-and-groove pine ceiling boards in a tiny home loft with a nail gun

Tools and skills you will need

You do not need a professional workshop, but you do need a core tool set: a circular saw, miter saw, drill and impact driver, framing square, level, chalk line, and a nail gun (framing and finish). A table saw and router expand what you can do. Skills you will learn as you go include reading plans, framing square, basic electrical and plumbing, and finish carpentry. Watch tutorials from established tiny home builders, join a DIY forum, and do not be too proud to ask a more experienced friend to check your framing before you close up the walls.
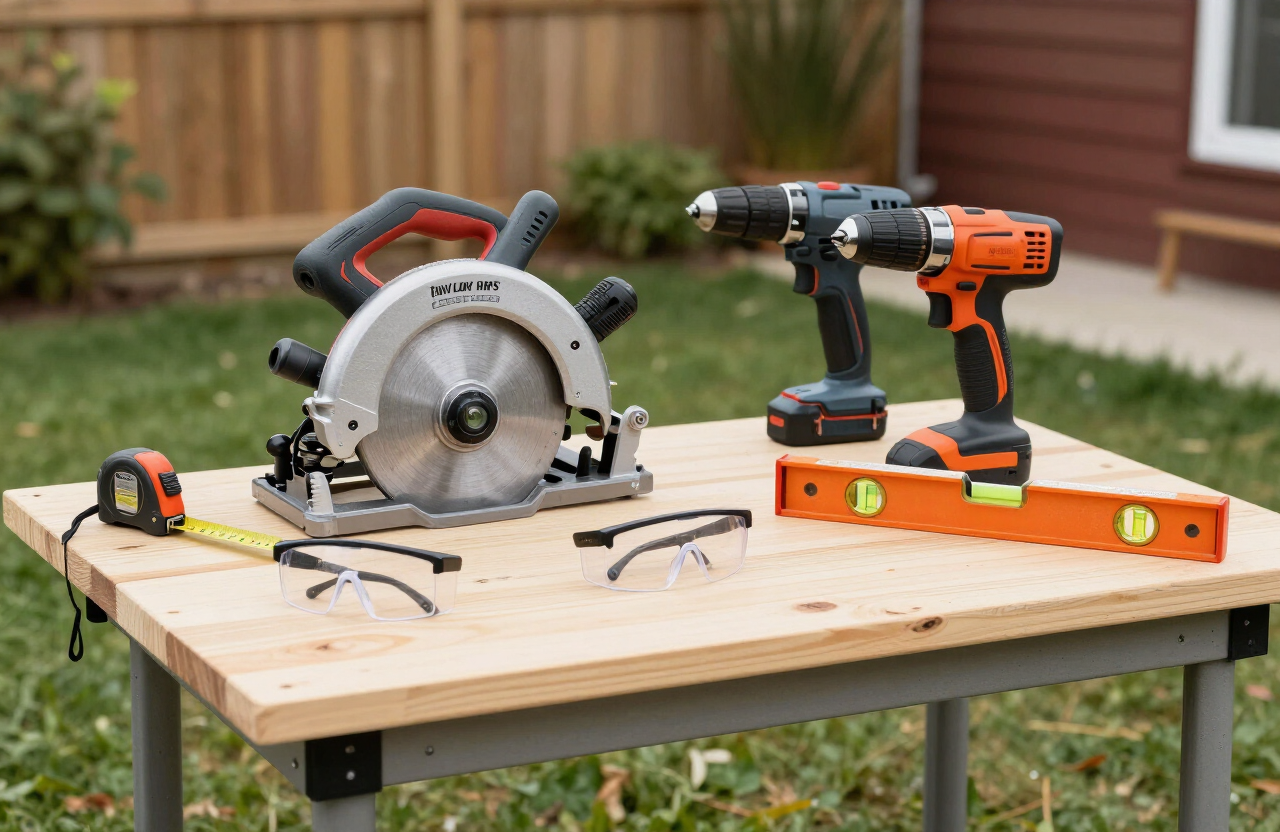
DIY tiny home builder's tool bench with a circular saw, drill, level, and tape measure organized on a workbench

Realistic time and cost budget

StageTypical DIY costTypical time
Trailer + foundation$3,000–$6,0001–2 weeks
Framing + sheathing$2,500–$4,5002–4 weeks
Rough-in (elec/plumb/HVAC)$2,000–$5,0002–3 weeks
Insulation + air sealing$1,500–$3,5001–2 weeks
Roof + siding + windows$3,000–$6,0002–3 weeks
Interior finish + fixtures$4,000–$10,0004–10 weeks
Total (modest build)$16,000–$35,0006–18 months part-time
Completed DIY tiny house on wheels with cedar siding and a metal roof, owner standing at the door

Knowing when to call a professional

DIY does not mean doing everything alone. The smartest self-builders hire licensed help for electrical service connections, propane gas lines, and sometimes the trailer welding, and they get a professional inspection before closing walls. The money you spend on a pro for the dangerous parts is trivial next to the cost of a fire or a failed inspection. Build what you can, delegate what you must, and inspect everything. When you are done, browse tiny homes for sale to compare, or explore off-grid homes if your build heads that way.

Related articles

More guides that dig deeper into the same topics.

Frequently asked questions

How much does it cost to build your own tiny home?+

A DIY tiny home typically costs $16,000 to $35,000 in materials for a modest build, with off-grid systems and premium finishes pushing it higher. That is roughly half the cost of a comparable professional build, but it trades money for hundreds of hours of your own labor.

How long does it take to build a tiny house yourself?+

Most first-time DIY builders spend 500 to 1,000 hours over 6 to 18 months of evenings and weekends. Full-time builders with experience can finish in 3 to 4 months. Build out of the weather if at all possible — a covered space dramatically speeds progress.

Do I need a permit to build a tiny home myself?+

A tiny house on wheels usually does not need a building permit for the structure itself if built as an RV, but you still need zoning approval to park and live in it. A foundation tiny home needs a building permit and inspections. Check local rules before you start, and get electrical and propane work inspected.

What is the hardest part of building a tiny house?+

Most DIY builders find the rough-in — electrical, plumbing, and ventilation — the hardest and most error-prone stage, followed by keeping the framing square and road-ready. Insulation and air sealing are tedious but straightforward. Hire licensed help for electrical service and gas lines.

Can I build a tiny home with no construction experience?+

Yes, many people do, but expect a steep learning curve and a longer timeline. Start with a detailed plan, watch tutorials from established builders, and have an experienced friend or inspector review your framing and rough-in before you close up the walls.

What trailer should I use for a DIY tiny house?+

Buy a purpose-built tiny house trailer with a flush deck and integrated wheel wells, sized to 8 feet 6 inches wide for road-legal towing without a permit. Check the axle rating against your estimated finished weight and coat the steel against rust before you build on it.

Ready to start searching?

Browse tiny homes, plans, builders, communities and land on the interactive map.

Explore the map
>